

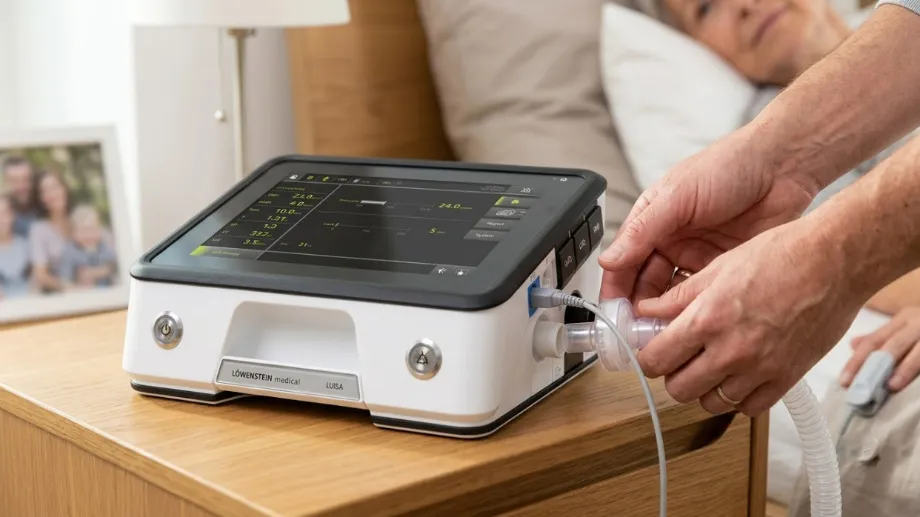
Setting Up a Home Ventilator, Step by Step
Setting up a ventilator at home isn't just about placing the machine — it's about creating a safe, monitored environment around it.
Step 1: Choose the Right Space
Start with a room that gives the patient comfort and gives caregivers enough access.
- A room with stable, grounded electrical points (avoid extension boards where possible)
- Good ventilation and easy access for caregivers on both sides of the bed
- Away from curtains, dust, or direct sunlight on the machine
Step 2: Power Setup
Power backup should be planned before the machine is installed.
- A dedicated UPS or battery backup rated for the ventilator's power draw
- A clearly marked backup plan for power cuts (see our dedicated guide on battery backup)
- Surge protection to guard against voltage fluctuations
Step 3: Circuit and Accessories
The breathing circuit and interface should be assembled and checked by a trained technician.
- Correct tubing, filters, and humidifier setup as specified by the equipment provider
- Mask or tracheostomy interface fitted and checked by a trained technician, not self-fitted on day one
- Spare circuit, filters, and mask on hand at all times
Step 4: Monitoring Tools
Keep essential monitoring and record-keeping tools near the bedside.
- Pulse oximeter for oxygen and heart rate checks
- Suction machine if secretions need regular clearing
- A logbook for recording settings, alarms, and any changes noted by the doctor
Step 5: Alarms and Safety Checks
Learn what each alarm sound means (disconnection, high pressure, low pressure, power failure) before the technician leaves. Do a daily visual check of tubing connections, filter condition, and battery charge.
Step 6: Caregiver Training
No setup is complete without hands-on training for at least two family members — covering routine use, emergency disconnection response, and basic troubleshooting.
How Srivari Healthcare Helps
Srivari Healthcare's technicians complete full setup and caregiver training on installation day, and remain available for 24/7 technical support after that.